GitHub Install
From webCoRE Wiki - Web-enabled Community's own Rule Engine
Summary
These instructions will help you install webCoRE via GitHub integration.
Installing Source Code into SmartThings Cloud
- Login to the SmartThings web UI.
- Click on My SmartApps.
- Click the Settings button at the top of the page.
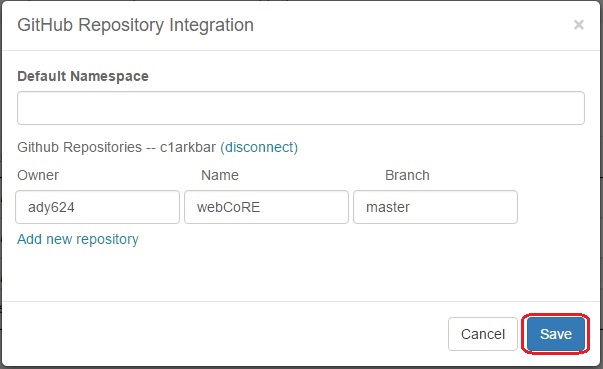
- Click the Add new repository link at the bottom of the pop up.
- Enter "ady624" in the Owner column.
- Enter "webCoRE" in the Name column.
- Enter "master" in the Branch column.
- Click Save (do not hit the Enter key, it will exit the form without saving).
- Click Update From Repo.
- Select webCoRE (master) from the list.
- Check "webCore.groovy" from the New (only in GitHub) box. (Do not update both at once.)
- Check the Publish checkbox at the bottom of the pop up.
- Click the Execute Update button.
- Click again on Update From Repo.
- Select webCoRE (master) from the list.
- Check "webCore Piston.groovy" from the New (only in GitHub) box.
- Check the Publish checkbox at the bottom of the pop up.
- Click the Execute Update button.
Note: The webCoRE source code has only been copied to your SmartThings cloud account. You must continue to the next step of Enable webCoRE OAuth.
Github Installation Troubleshooting

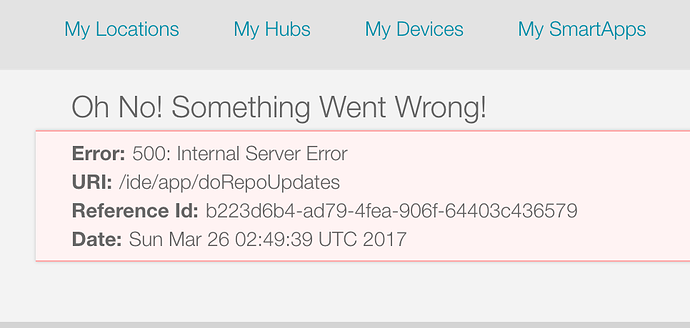
If you receive this error it may be because you installed and published both "webCore.groovy" and "webCore Piston.groovy" at the same time. Please do them individually (one at a time) per the instructions. Be sure to install/publish "webCore.groovy" first then "webCore Piston.groovy" after.


