Creating your first piston
From webCoRE Wiki - Web-enabled Community's own Rule Engine
Now that you have webCoRE installed and up to date, lets go ahead and walk through the steps to make a simple piston that will turn on a light switch when motion is active. From the dashboard.webcore.co main page just follow these easy steps.
- We are going to click on Add a new piston in the upper left corner of the screen
- A dialog box will open and we want to choose Create a blank piston
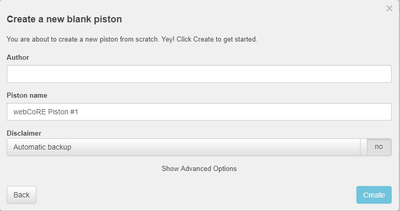
- Which will then open this dialog box
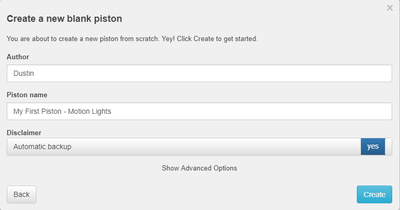
- Now simply fill in the Author (that is you!) and we will name this My First Piston - Motion Lights. We will also enable Automatic Backup by clicking on the no to change it to yes
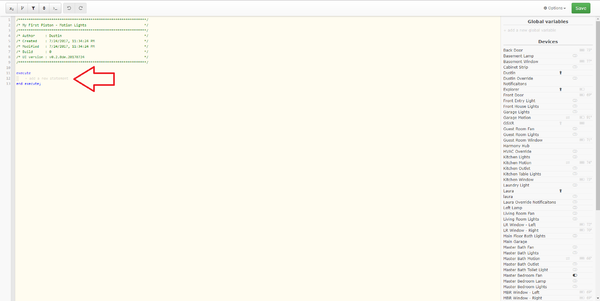
- After clicking create we are brought to the Piston Editor/Script View. Click on Add a new statement
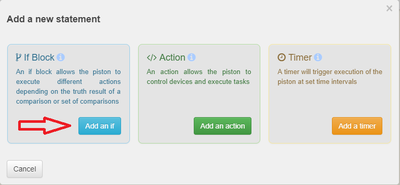
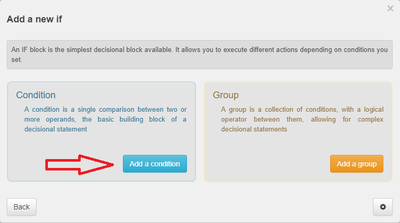
- Click on Add an if
- Click on Add a condition
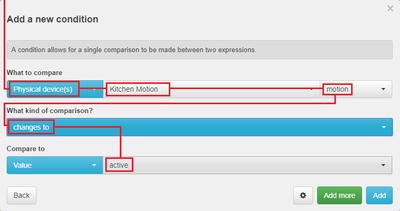
- Now we are going to select a motion sensor
- The default is Physical Device(s), now click the middle box that says Nothing Selected and choose a motion sensor then select motion as the attribute
- For the comparison select changes to under the Triggers category
- Finally select active if not already selected and click Add
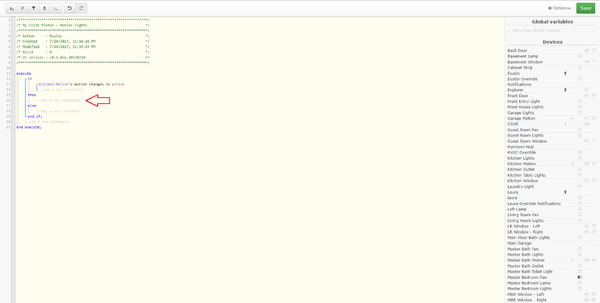
- Now that we have our trigger, lets add an action by clicking on Add a new statement below the then
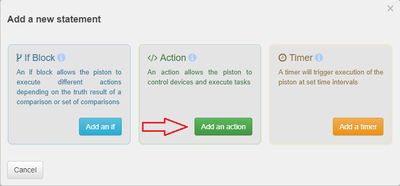
- This time we want to do something so select Add an action
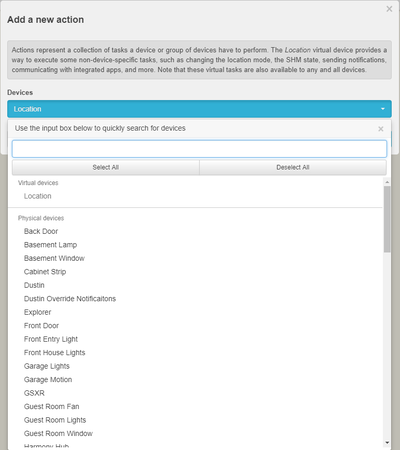
- Here you can search for the device to limit the drop down or scroll down to find it. Select the Switch/bulb you want to control
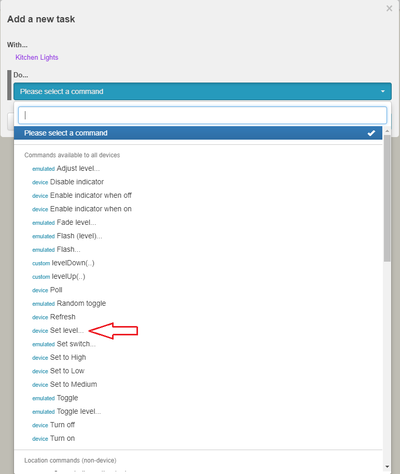
- Now we are going to select the command we want to use. Find Set Level... in the list and choose it.
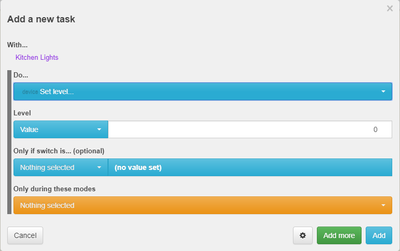
- Before we add this task we want to set the level to 100 then click add
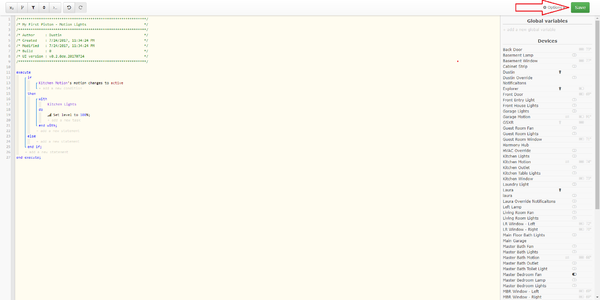
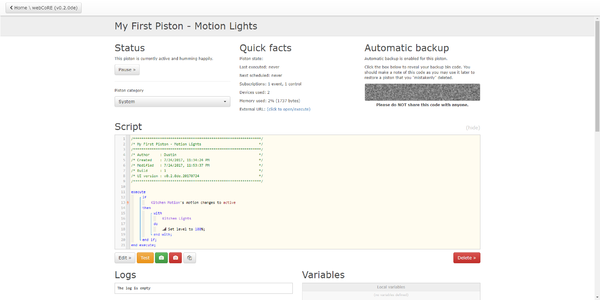
- We have our simple motion lights piston all set up. Go ahead and finalize it by clicking save in the upper right corner.
- This brings us to the overview page. This shows a vast amount of information about this individual piston.
All that is left to do now is test your piston by walking past your motion sensor. Your light should turn on to 100% brightness. However due to the simplicity of this example there is no control to turn it off. But this was just a simple overview of creating a piston. Hope this helps get you started!


